My approach to creating a 3D image is no different from using a camera. Just as a photographer meticulously considers composition, lighting, and the interplay of shadows in the real world, I apply these same principles when crafting my digital visuals. Here, I will guide you through my process of achieving a lifelike quality that captures the essence of your vision.
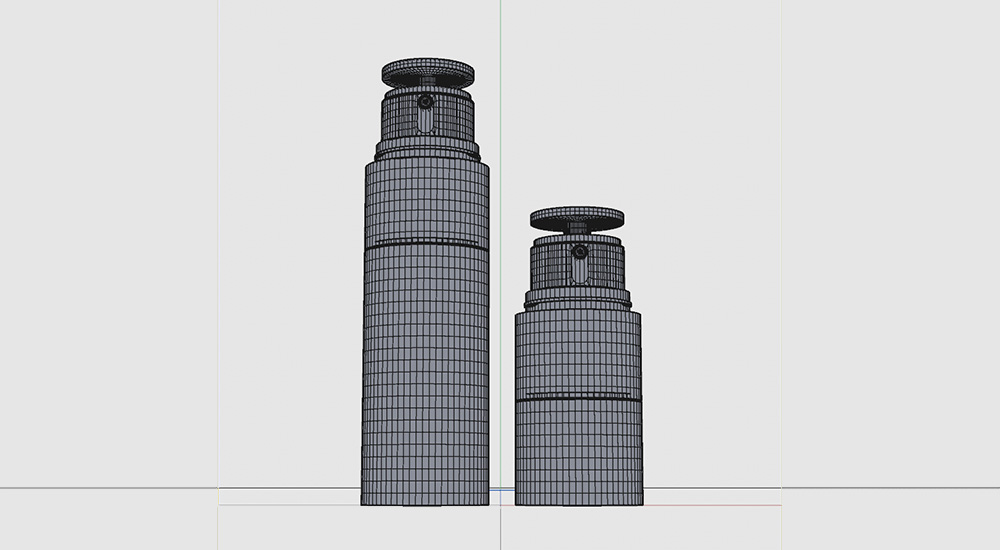
This is the first step in 3D rendering: shaping the object much like a sculptor. Whether I’m creating a cream texture or a perfume bottle, the focus is on capturing the intricate details and forms that make each item unique.
As this is a highly technical process, this is something that I collaborate on with a skilled modeler who excels in achieving the meticulous accuracy required to create lifelike forms.
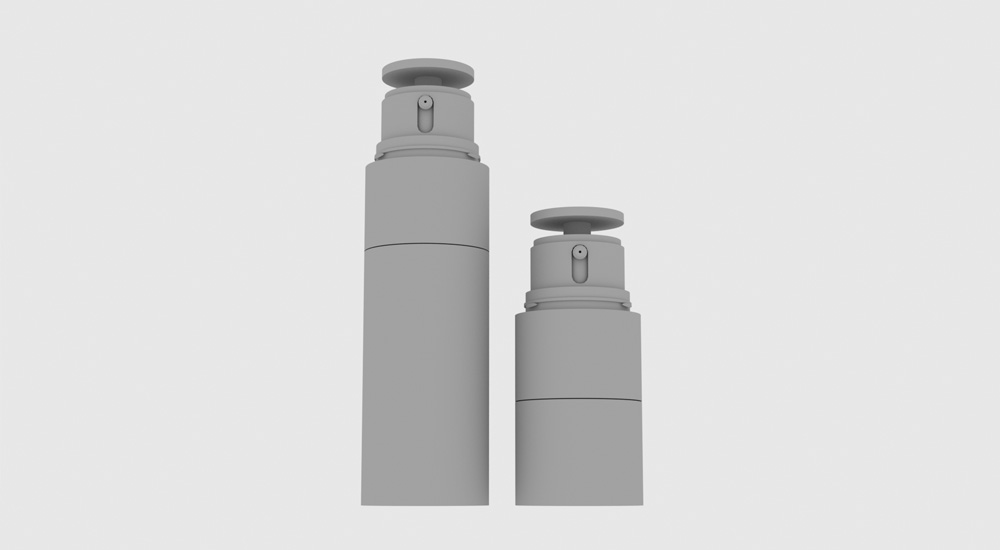
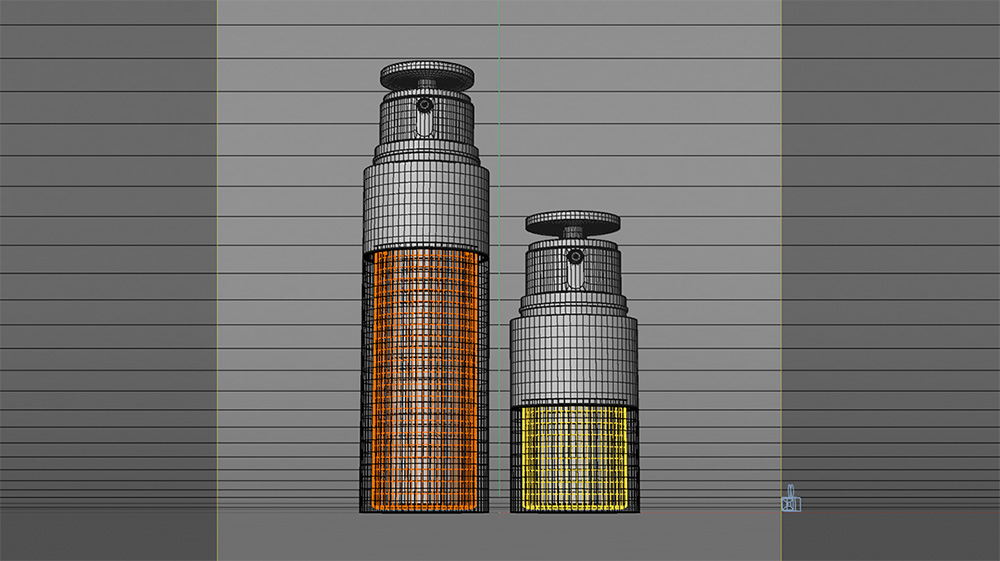

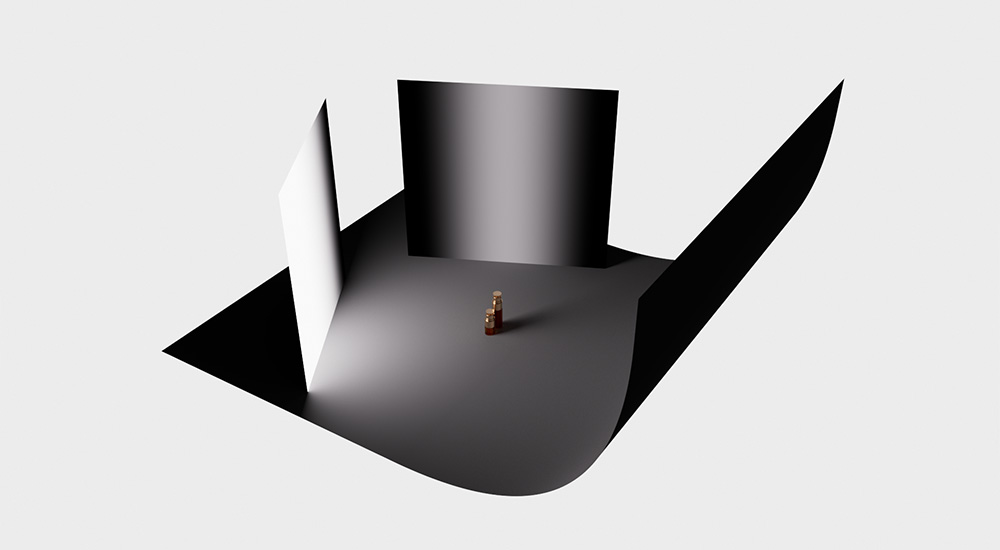
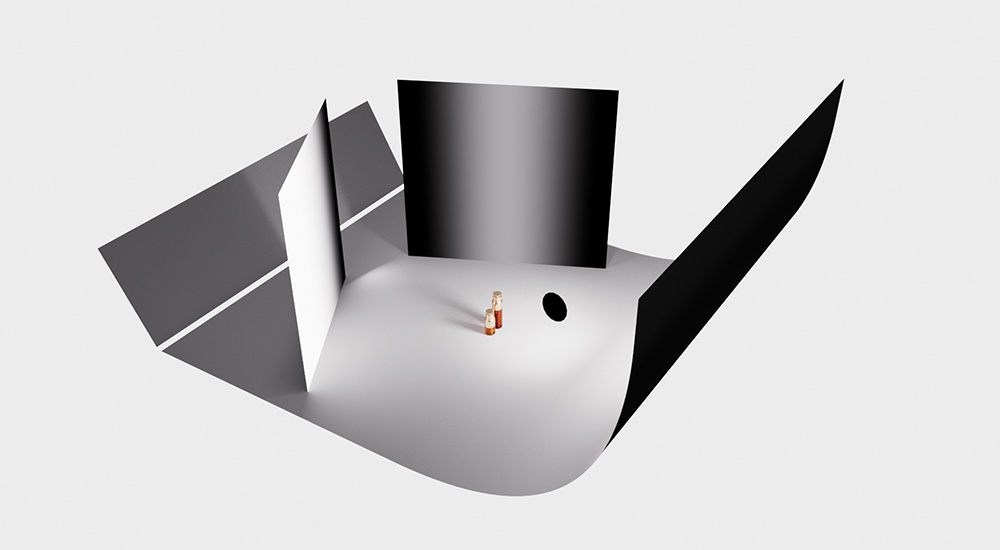
Once the object has been modeled and a studio backdrop created, texturing brings the scene to life by adding surface details such as colors, transparency, or imperfections. This stage is crucial for achieving realism, as it simulates how light interacts with different materials.
Careful attention is given to ensure each material behaves as it would in the real world, enhancing depth and authenticity in the final image.
This is my favorite, and the most important part of the process! Lighting the objects is what will define the final render’s character and mood.
A standard three-point lighting setup—key light, fill light, and back light—serves as a solid starting point.
From there, the studio setup is meticulously refined, much like a photographer would, by adjusting light positions, adding reflectors, and using flags (dark panels to add contrast) to achieve the perfect balance that aligns with the client’s expectations.
Animation breathes life into images, transforming static objects into dynamic visuals. This stage involves creating movement that aligns with the story or message being conveyed. Whether it’s a subtle camera movement or the graceful motion of a product being showcased, attention to detail is paramount.
Simulations play a crucial role in enhancing realism. By mimicking natural phenomena, such as fluid dynamics or cloth movement, the final render gains an added layer of authenticity.
Once the rendering is complete, post-production begins. This stage is essential for refining the final image, allowing for adjustments in color grading and overall contrast.
By working with the industry standard ACES color space, much like using RAW format in photography, the final output provides maximum latitude over colors and exposure, ensuring that whites cannot be overexposed and colors cannot be burned.
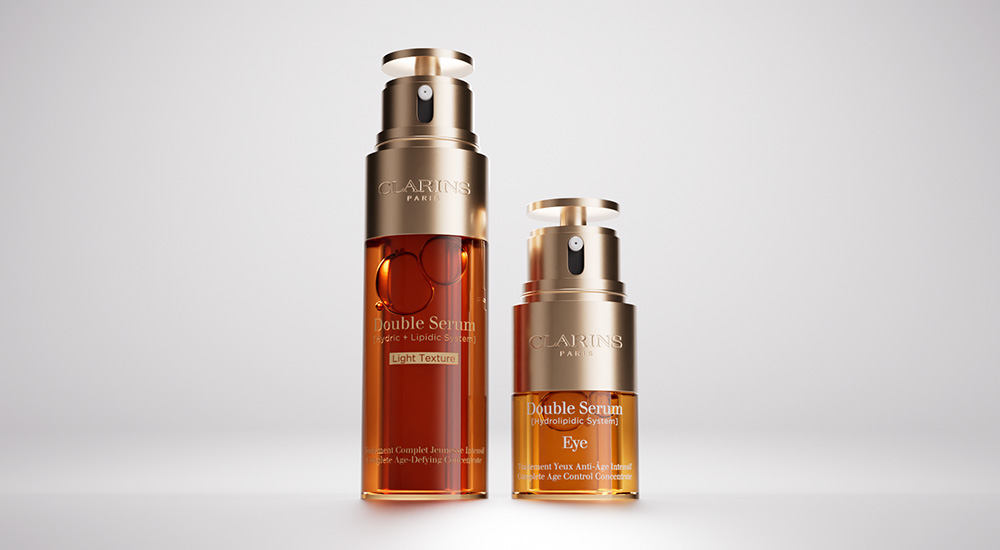

This flexibility allows for precise adjustments and creative expression, ensuring that every project meets the highest standards of quality. Ultimately, this commitment to excellence enables impactful storytelling through the power of 3D visualization.
In a constantly evolving industry, embracing these principles ensures that the work remains innovative, relevant, and resonant.
This is the first step in 3D rendering: shaping the object much like a sculptor. Whether I’m creating a cream texture or a perfume bottle, the focus is on capturing the intricate details and forms that make each item unique.
As this is a highly technical process, this is something that I collaborate on with a skilled modeler who excels in achieving the meticulous accuracy required to create lifelike forms.


Once the object has been modeled and a studio backdrop created, texturing brings the scene to life by adding surface details such as colors, transparency, or imperfections. This stage is crucial for achieving realism, as it simulates how light interacts with different materials.
Careful attention is given to ensure each material behaves as it would in the real world, enhancing depth and authenticity in the final image.


This is my favorite, and the most important part of the process! Lighting the objects is what will define the final render’s character and mood.
A standard three-point lighting setup—key light, fill light, and back light—serves as a solid starting point.
From there, the studio setup is meticulously refined, much like a photographer would, by adjusting light positions, adding reflectors, and using flags (dark panels to add contrast) to achieve the perfect balance that aligns with the client’s expectations.


Animation breathes life into images, transforming static objects into dynamic visuals. This stage involves creating movement that aligns with the story or message being conveyed. Whether it’s a subtle camera movement or the graceful motion of a product being showcased, attention to detail is paramount.
Simulations play a crucial role in enhancing realism. By mimicking natural phenomena, such as fluid dynamics or cloth movement, the final render gains an added layer of authenticity.
Once the rendering is complete, post-production begins. This stage is essential for refining the final image, allowing for adjustments in color grading and overall contrast.
By working with the industry standard ACES color space, much like using RAW format in photography, the final output provides maximum latitude over colors and exposure, ensuring that whites cannot be overexposed and colors cannot be burned.


This flexibility allows for precise adjustments and creative expression, ensuring that every project meets the highest standards of quality. Ultimately, this commitment to excellence enables impactful storytelling through the power of 3D visualization.
In a constantly evolving industry, embracing these principles ensures that the work remains innovative, relevant, and resonant.